
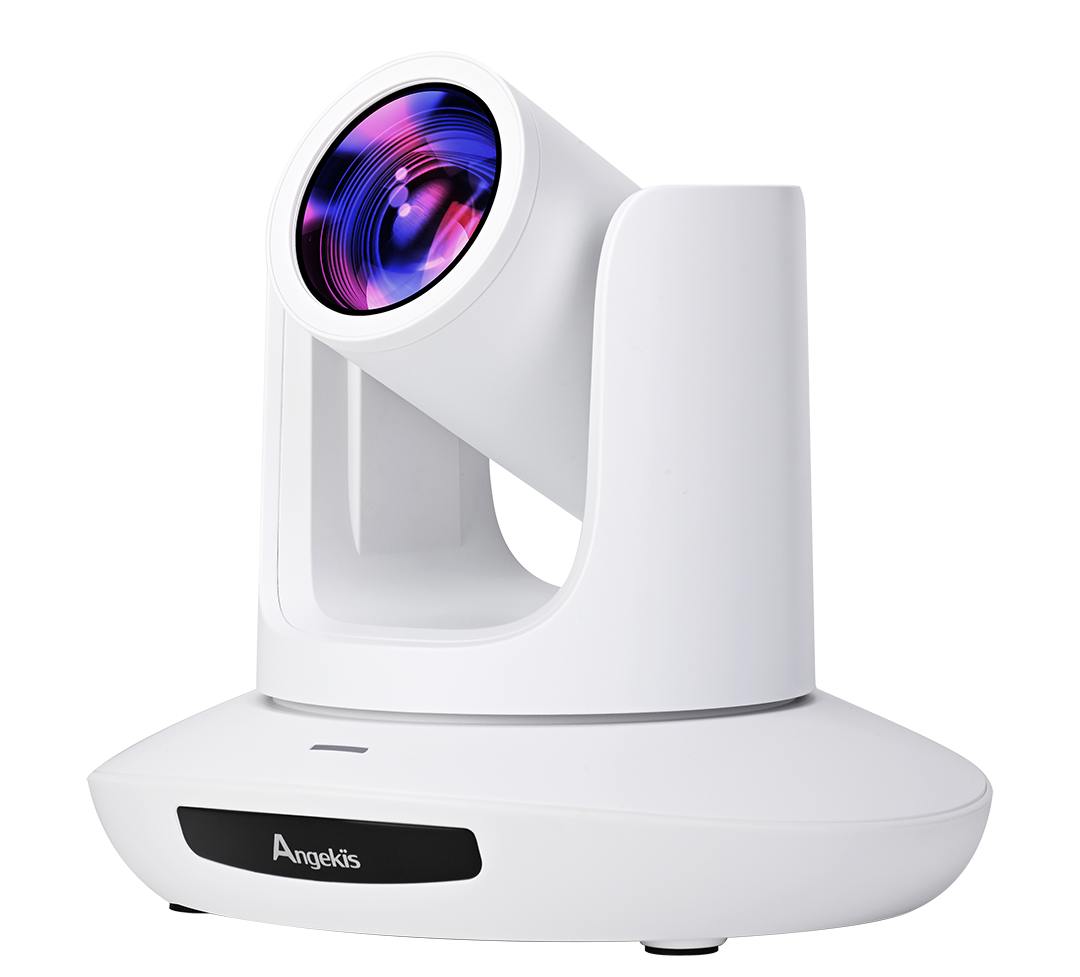
Blade VS+
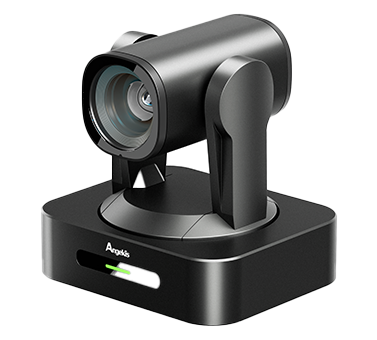
Saber 4K+
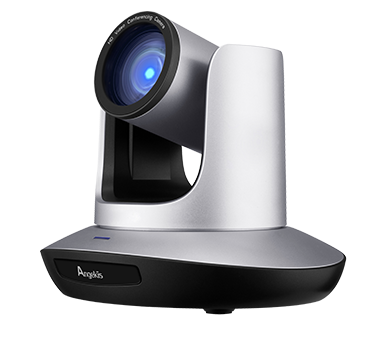
Saber X
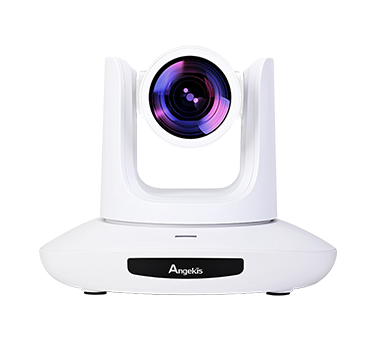
Saber U20
Saber Plus
Saber IP20X

Saber Light

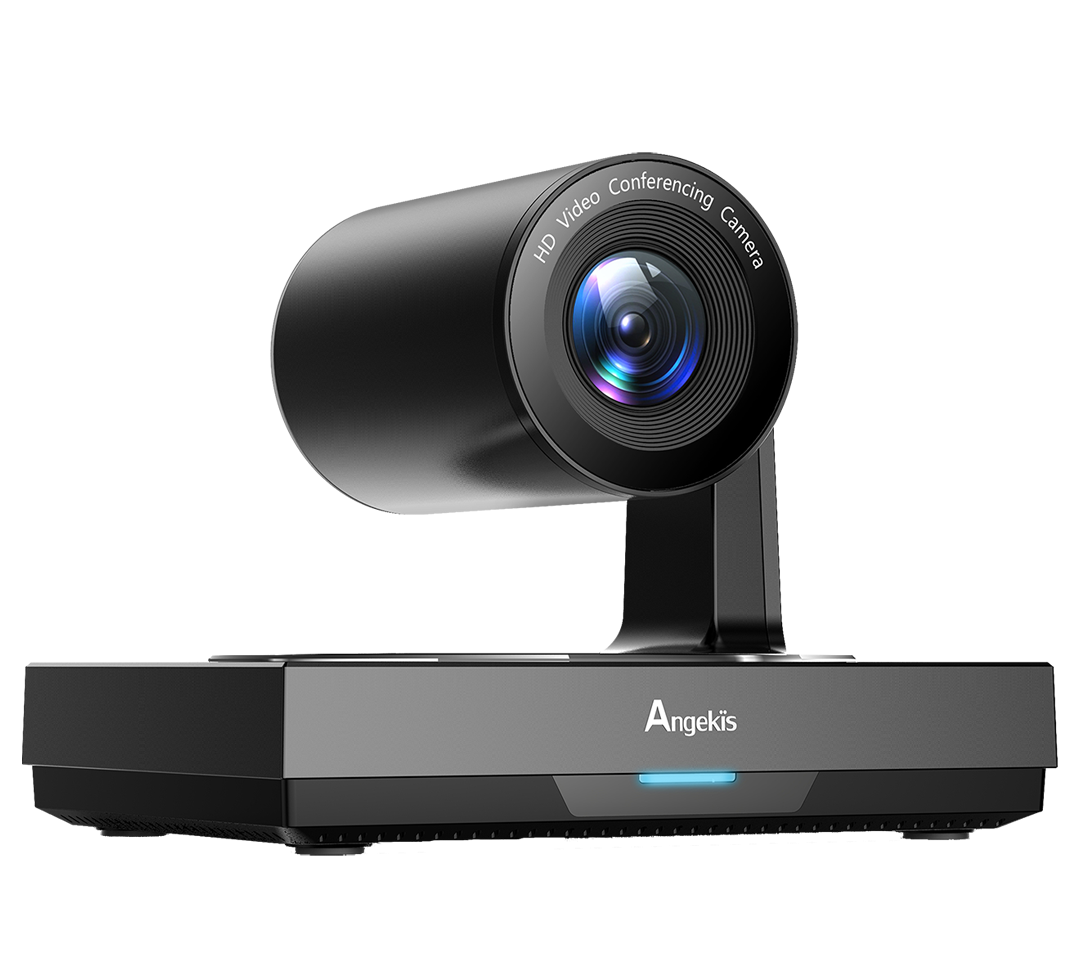
Saber 4K+ NDI®

Saber IP20X NDI®
Blade 4K
Saber 4K

Saber AT

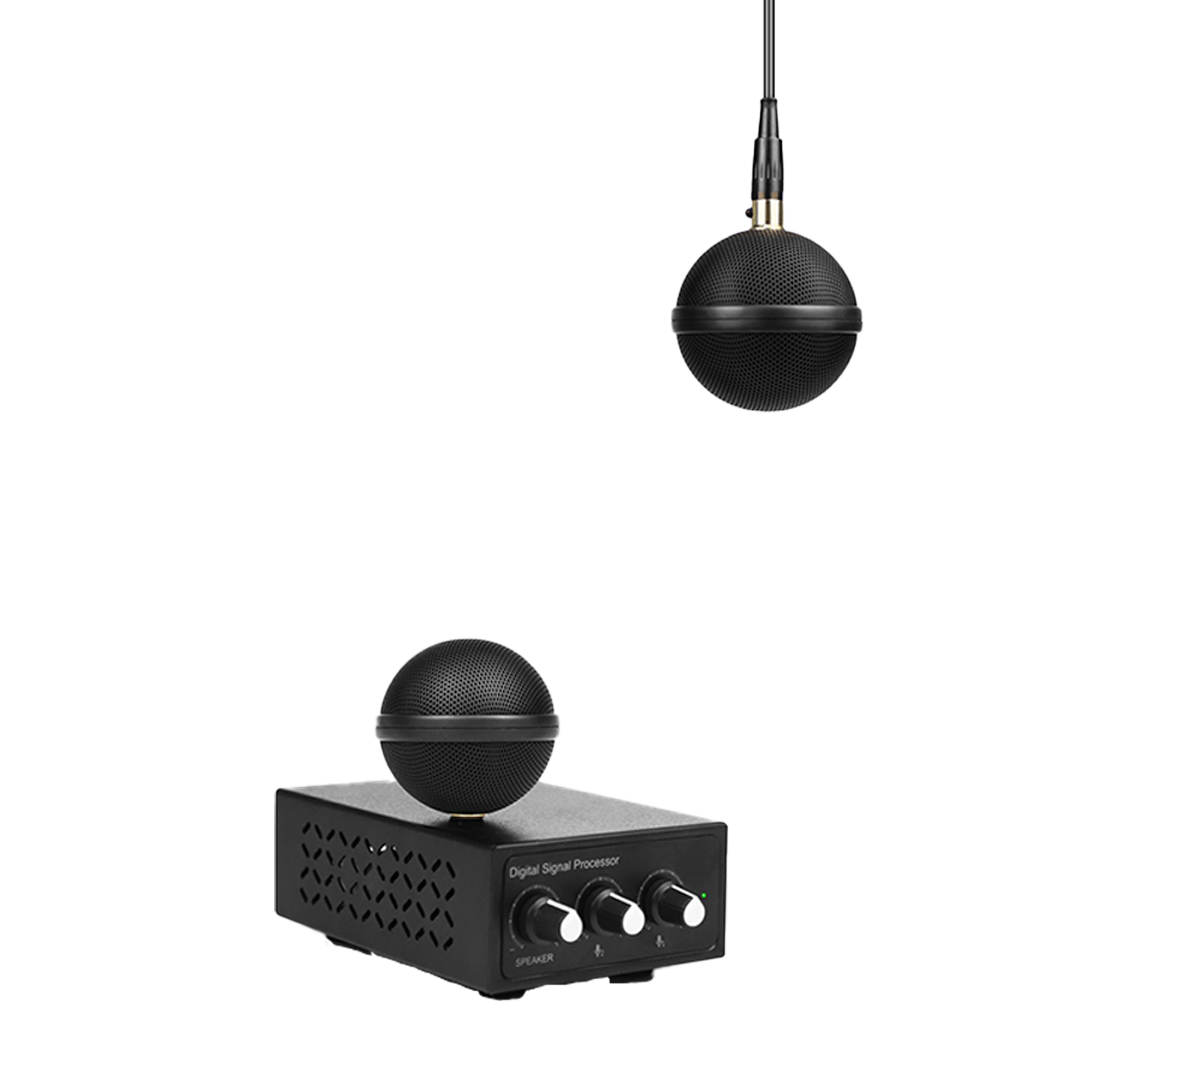
Cleartalk Wired ASP-05
Cleartalk HD ASP-10
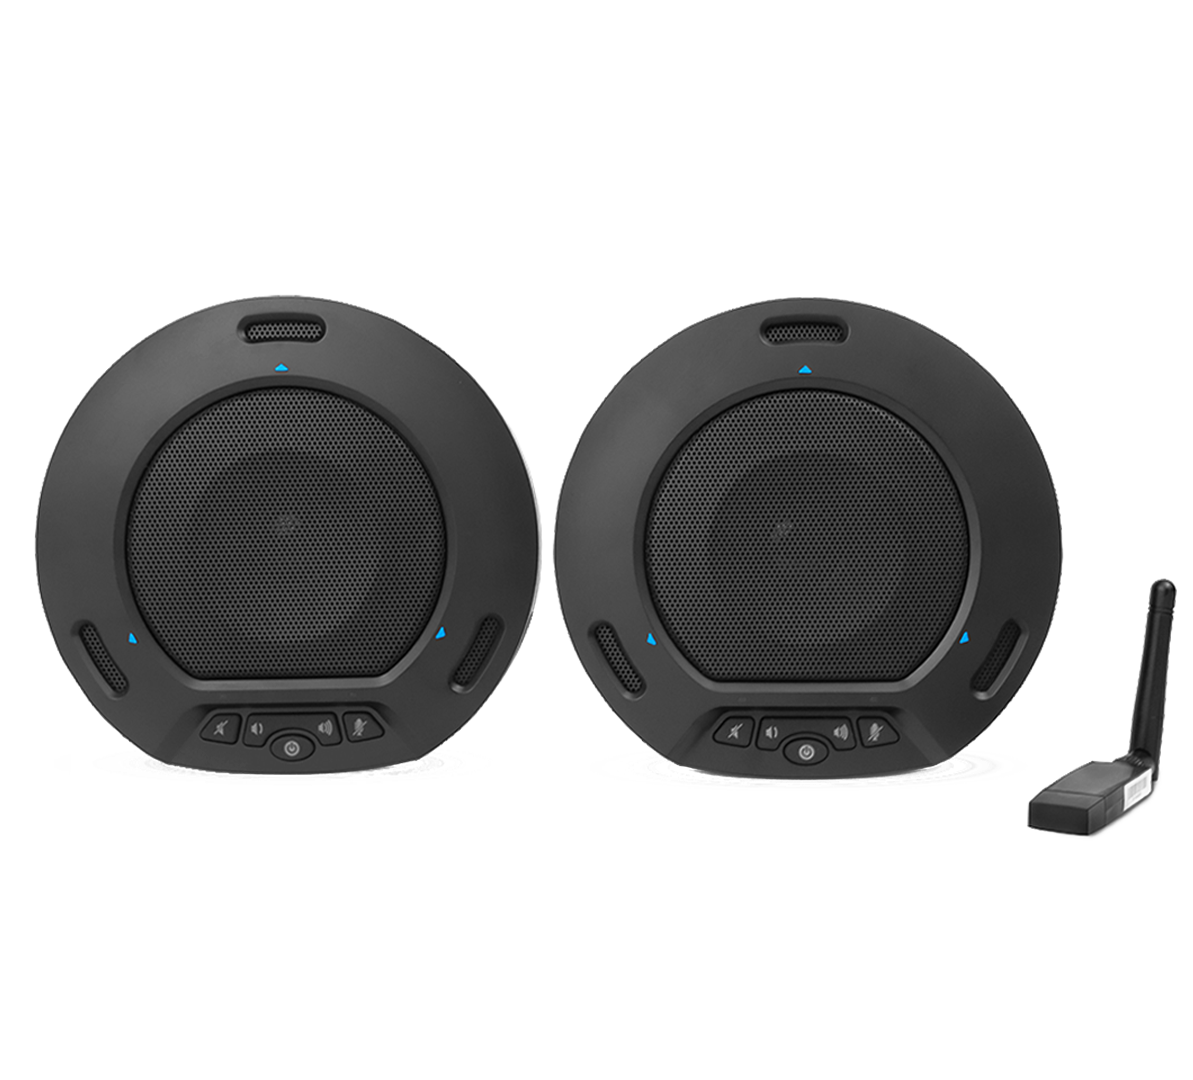
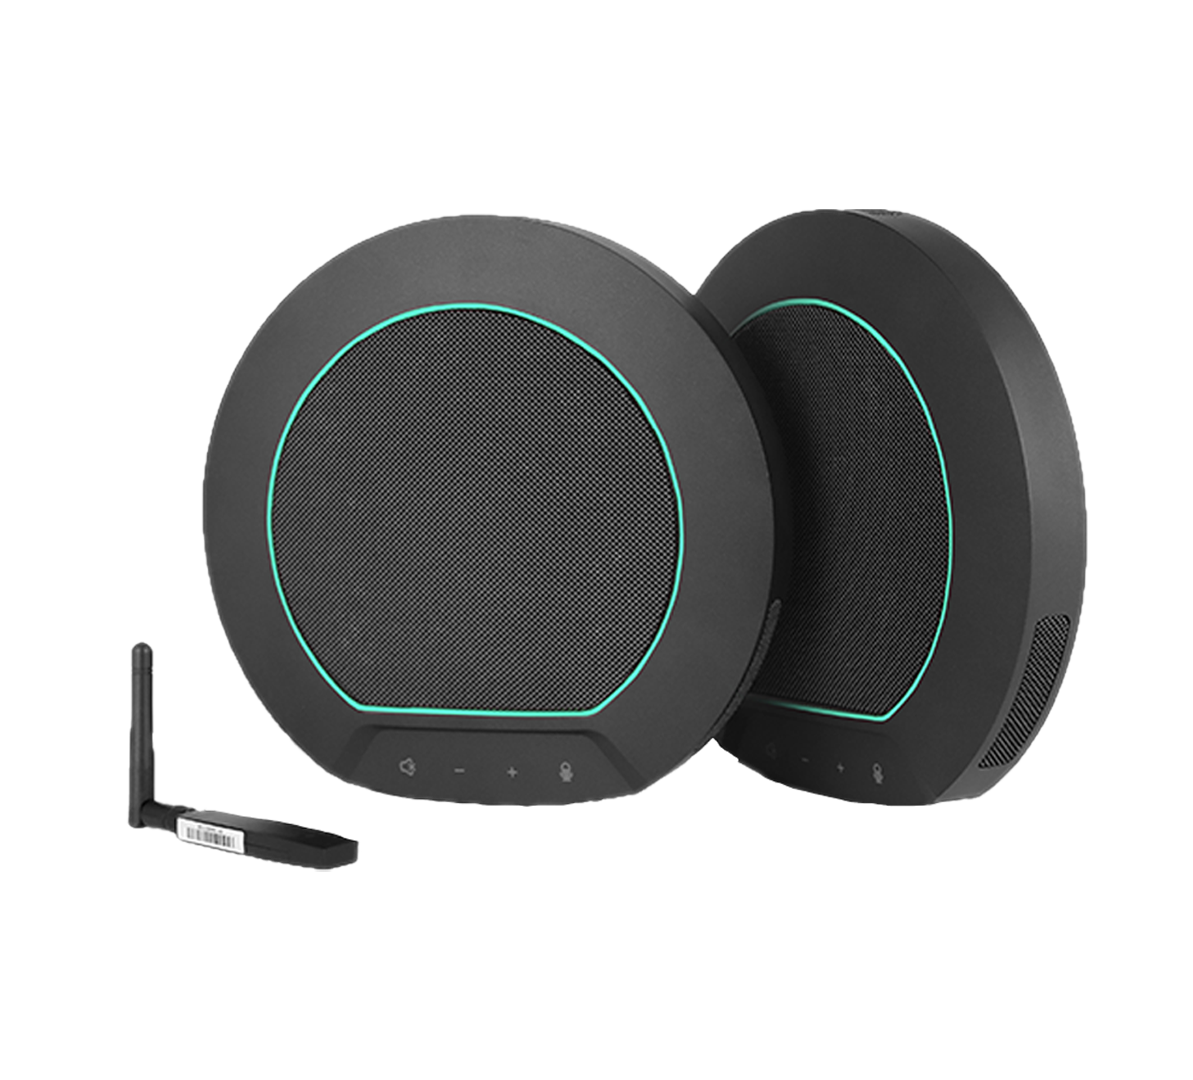
Cleartalk Wireless ASP-04
Cleartalk Anchor ASP-06
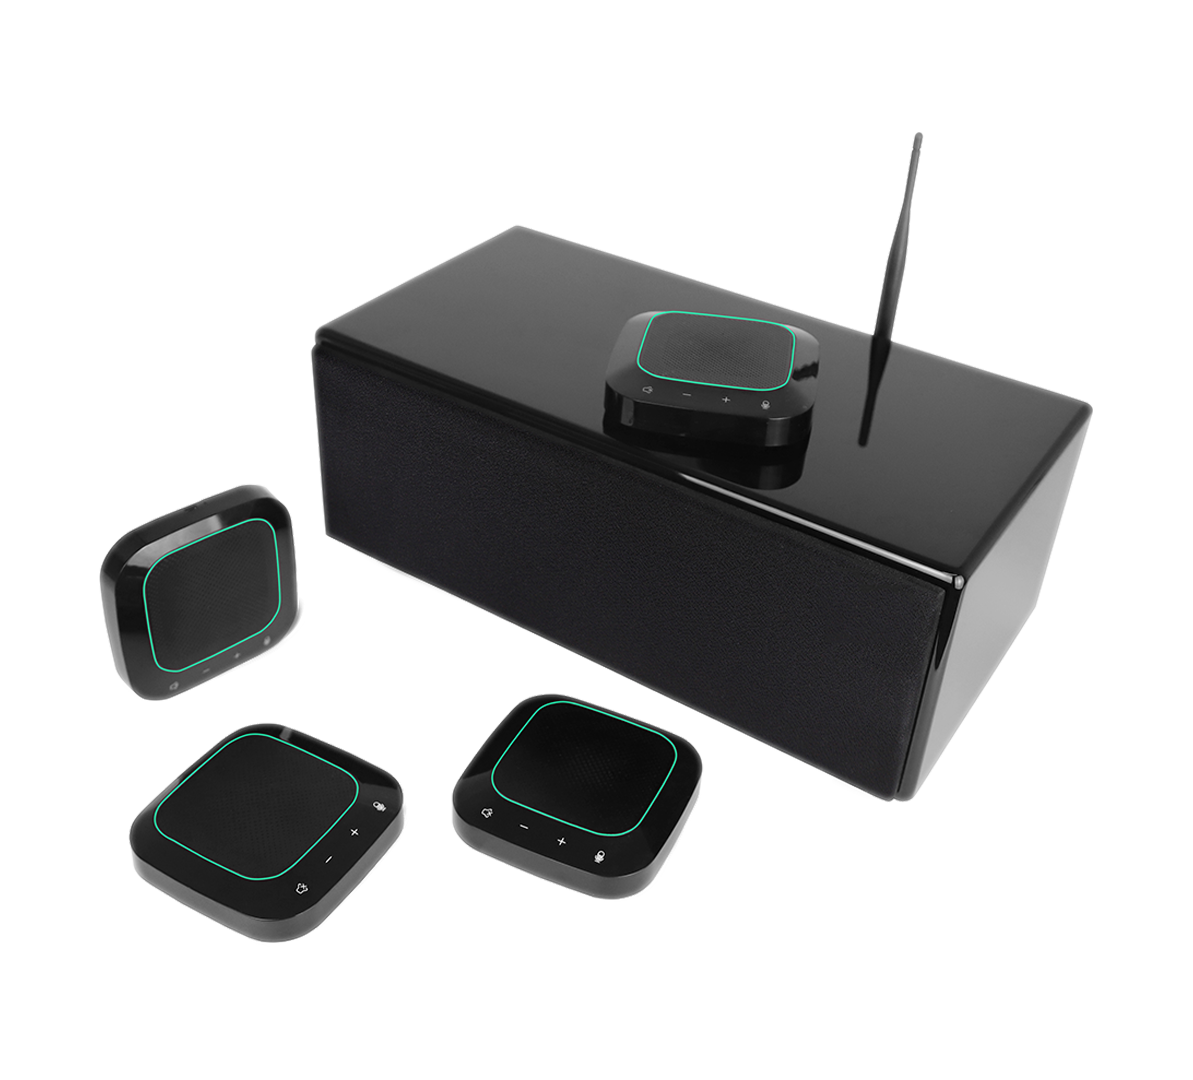
Cleartalk DC 4 Units ASP-04D-4S

Ceiling Mic Pro ASP-C-01
Ceiling Mic Pro ASP-C-02
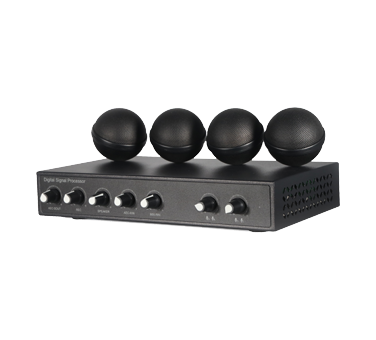
Ceiling Mic QS ASP-C-04
Cleartalk DC 2 units ASP-04D-2
Cleartalk HD DC ASP-10D-2
Mission Control Keyboard
Wall Bracket (White)
Wall Bracket (Black)
USB3.0 Extend Cable 10-30M
USB3.0 A male to B male Active Optical Cable
USB3.1 Type A-C Active Optical Cable
HDMI 2.0 Cable
Ceiling Mount (White)
Ceiling Mount (Black)
USB2.0 Extender
One Touch Wall Bracket (Black)
IP Controller
Remote Control for Saber and Blade
Cord Cover Wall Bracket (Black)
Remote Control for One Touch
Cord Cover Wall Bracket (White)
RS232 Cable
RS232 Joystick
Power Adapter
Blogs
How to Set Up a Temporary Livestreaming and Recording Environment
How to Set Up a Temporary Livestreaming & Recording Environment
While doing all of our filming and recording in a professional studio with a dedicated AV setup would be great for producers and AV techs, the reality of our work is that we need to meet people where they are. Whether that means wiring up a hotel auditorium for the keynote address at a trade show, an outdoor pavilion for a music festival, or setting up a small meeting room for a special project, an essential element of AV integration is the ability to quickly deploy and take down equipment for temporary productions.
In this blog let’s walk through an example of how to set up a temporary livestreaming and recording environment.
Recommended Equipment:
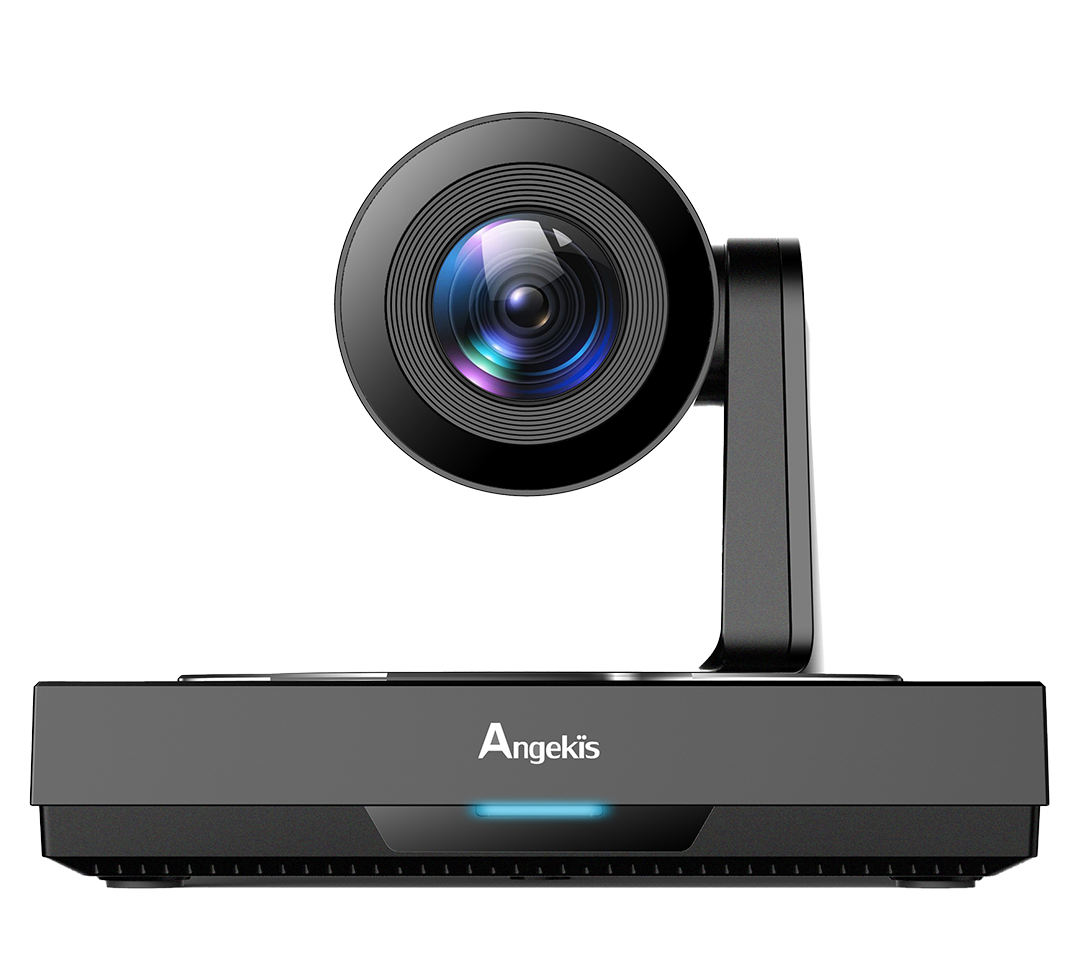
Cameras: Angekis Saber 4K+ NDI. This camera supports 4K Video @ 60fps, has a wide 80.5° FOV, and with PoE+ you can run power, video, and control over a single cable. The onboard NDI protocol is an excellent choice for temporary setups, as the NDI tools pack allows for quick detection, setup, and integration. We recommend 2-7 units, depending on your scenario.
Microphones: Wireless USB linked microphones integrate quickly and easily with just about any setup. For higher quality sound you might consider a wireless microphone solution with a 3.5mm audio connection, although this might increase the complexity of your production.
Speakers: For local amplification, both 3.5mm wired and Bluetooth are viable solutions. Take note if your loudspeaker requires a dedicated power supply (a power outlet and cable), or if it has an internal battery, and factor this in when organizing your production.
Recording and Broadcasting devices: A Laptop with NDI Tools and VMix, OBS, Panopto, or your preferred software installed.
Switch: An 8-port switch that supports PoE+ should quickly and easily handle most temporary productions.
Accessories: Make sure to bring enough standard camera tripods to hold all the cameras, as well as extra Ethernet cables, adapters, and other small items. Check the venue for internet, power, and other considerations. A mobile power supply and WiFi hotspot are important tools to have in a pinch.
When everything is ready, let's head to the production site!
Deployment:
Deploying PTZ cameras mounted on tripods means you can easily rearrange the filming setup. Consider the needs of the event, the areas of special focus, and take time to experiment and think through what you and the client envision for your production. When the focus is on a speaker, like in a classroom, a shot/reverse shot setup between the speaker and the audience can be extremely effective.
It’s also important to put the production booth in the right spot, where it won’t interrupt the event space, but also allows the producer a good view of the action.
Make sure the cameras and audio equipment are in just the right place, tested properly, and that everything has a fully charged battery or a wire, and that all cables are properly secured. Gaffer’s tape and carpets can work wonders.
Using NDI, Ethernet, and a video production setup like VMix on a laptop allows for a very efficient deployment. An important consideration here is that the production is using its own LAN. Simply plugging into the local network could lead to unexpected surprises if someone else starts using lots of data across the network.

A Tripod-Mounted Angekis Camera in a Temporary Livestreaming Setup
Diagram:

Connect the cameras to the PoE Switch via RJ45 cable for power, NDI stream transmission and remote control.
Make sure the camera and PC are on the same Network Segment, for example: Camera1: 192.168.1.188, Camera 2: 192.168.1.189, PC: 192.168.1.190
Configure IP Addresses:
Change the IP address of PC (Windows 11):
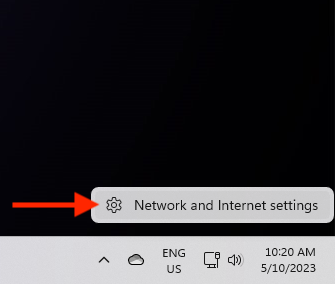
1. Find Network at the bottom-right of the desktop and right-click it.
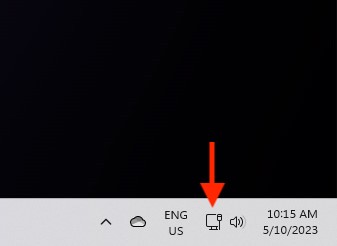
2. Select “Network & Internet settings”, as shown in the picture.
3. Select “Ethernet”

4. Edit the “IP Assignment”

5. Select “Manual”

6. Turn “On” IPv4

7. Here are the blank manual IP setting options.

8. Enter the manual IP information. Make sure you’re set up on the same Network Segment as the Camera(s). For our demonstration, here is the IP information:
IP Address: 192.168.1.190
Subnet Mask: 255.255.255.0
Default Gateway: 192.168.21.1
Preferred DNS Server: 191.168.1.1

9. Pressing “Save” should return you to the Ethernet Menu with the appropriate information now displayed:

Change the IP Address of the Cameras:
1. Open your browser, type in the IP address of the camera: 192.168.1.188 (default), and enter the WebUI for Camera Control. (default username: admin, default password: admin)

2. Press the “Setting” button on the right top corner.

3. Select “Ethernet” for configuration.

4. Check the information here to ensure the computer and camera are on the same Network Segment. Click Save.

After finishing the IP configuration, try to test if the new IP address is accessible.
Further Information:
How to Connect Angekis NDI Cameras to VMix: https://youtu.be/dv4DDX5tpd0
How to Connect VMix to YouTube Live:
With a little bit of planning and preparation, you can set up a full, high quality, temporary livestreaming studio just about anywhere in under an hour. Watch this space for more on this topic!